How to Use Microsoft Teams: The Basics

Microsoft Teams, or just Teams, is a fast and efficient way to not only communicate with team members but collaborate as well. Teams is made for the modern-day workplace. It integrates with each of the Microsoft Office 365 apps and has a mobile app – now there’s no excuse to miss a deadline!
Below I will cover the basics to help you get started using Teams, but first here’s a quick list of what you can do with the app:
Chat and share files instantly
Schedule and hold meetings through voice or video calls
Edit documents at the same time as your coworkers
Configure tabs to quickly access different apps (see Teams & Apps for a full list of the apps available.)
Check out a list of 25 more cool features like the immersive reader that speaks the text from messages here.
How To Use Microsoft Teams: The Basics
You might also like this blog on the benefits of collaboration and why use Microsoft Teams vs. Slack
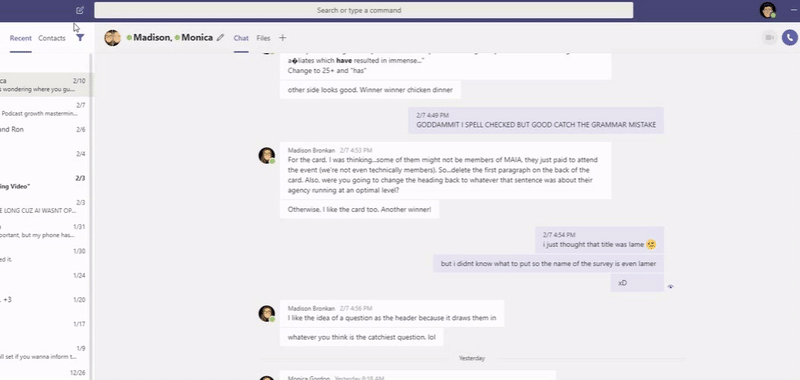
Start A Conversation
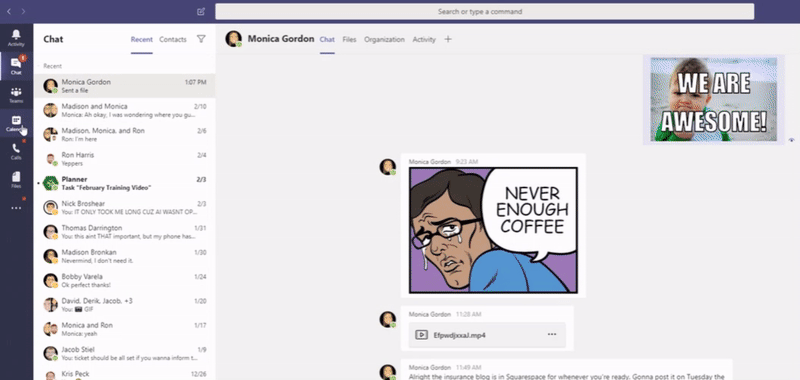
There are multiple ways you can chat in Teams. Whether it be with one-person, multiple people, or a team. In chats you do a lot of things. For example, you can add emojis, stickers, gifs, and attach files to your messages. You can also schedule meetings, stream, and send praise.
To start a conversation with one person or multiple people:
1. At the top of the app, click New chat.
2. In the To field, type the name of the person or people you want to chat with.
3. In the compose box, say what you have to say and click Send.
Or start a conversation with your whole team:

1. Click Teams, then pick a team and a channel.
2. In the compose box, say what’s on your mind and click Send.
Reply to a message by:

1. Find the conversation thread you want to reply to.
2. Click Reply, add your message, and click Send.
To get someone’s attention you can mention them by:
1. In the compose box, type @, then type the first few letters of the person’s name. You can also @ mention entire teams and channels.
2. Select the person. Repeat for as many people as you want to @mention.

Each person you @mention gets a notification in their Activity feed. Check for a red circle next to Activity icon right now to see if someone has @ mentioned you!
When you need to share a file in a conversation simply:

1. In your channel conversation, click Choose File beneath your compose box.
2. Select a file, click Open, and then Send.
Add some fun to your messages by using emojis, stickers, and gifs:
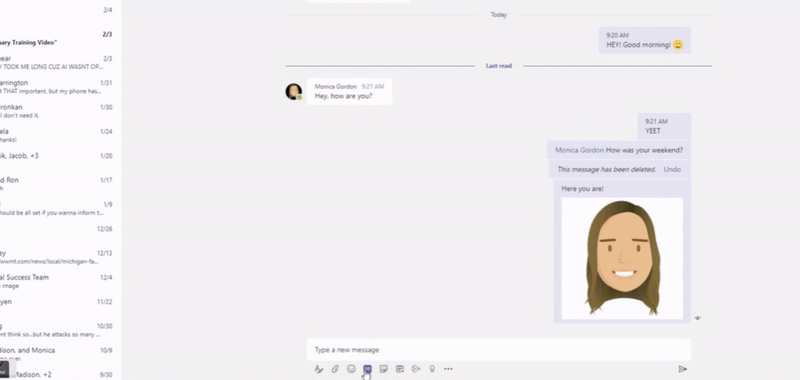
1. Click the Sticker icon under the box where you type your message, then pick a meme or sticker from one of the categories.
2.The Sticker catalog contains a wide variety of customizable stickers and memes—you can even upload your own! Check out Emoji icon for smiley faces and the GIF icon for animated GIFs.
Schedule & Join A Meeting
The great thing about Teams is that it is way more than just a chat app. Yeah being able to instantly send and receive messages is convenient, but sometimes chat just doesn’t cut it and you need to have a meeting with some or one of your coworkers.
To schedule a meeting from a chat:

1. Select the schedule a meeting icon below the compose box. This will book a meeting with the people in that chat.
To schedule a new meeting:

1. Go to the calendar icon on the left side of the app and either select new meeting at the top right of the app or select a range of time in your calendar and it will pop open a scheduling form.
2. From there you will give a title to your meeting, invite people, and add the meeting details.
3. On the right side of the scheduling form you will have the option to add a channel, individual people, or leave both blank to book yourself an appointment.
You can also schedule a meeting with a non-Teams user by:
1. Follow the above steps, and where you invite people type in the email addresses of the non-Teams guests you wish to invite.
2. An email will be sent to them. They will click the link in the email to join the meeting.
To join a meeting:

1. You can join a meeting at any time from the Meetings Tab.
2. From List View, click Join next to the meeting title.
3. From Day view, click on the meeting you want to Join and choose Join in the upper right hand corner of the Teams window.
Audio & Video calls
When messaging doesn’t cut it and you need to make an audio or video call, don’t worry. Teams can do that too! This a great way to communicate with remote workers as tone can get lost in messages at times. With a call you can clear up some of that confusion. Calls can be made with up to 250 members and with smartphones or tablets.
To make an audio call with one person or a group:

1. Navigate to your chat list and click New Chat.
2. Type the name or names in the To field of the person(s) you want to call.
3. Select Audio call in the top right corner of the app.
To start a video call with one person or a group:

4. Navigate to your chat list and click New Chat.
5. Type the name or names in the To field of the person(s) you want to call.
6. Select Video call in the top right corner of the app.
To start a video call in a channel:

1. Select the Meet Now button beneath the message box in the channel you wish to have video call with.
Teams & Apps
Within Microsoft Teams you can have teams, or groups of people brought together for different projects, tasks, or departments. Within your teams you can hold meetings, conversations, and work on files together. The tabs at the top of your team channel can link to files, apps, or services that are used the most.
To add a tab:

1. Select the + sign next to the tabs.
2. Choose which tab you would like to add.
There are tons of options available from Excel, Planner, Power BI, files, websites, and more! Check out a list of 332 available apps here.
Check out the Microsoft Planner App:

An app we love at Omega is Planner. It’s a great way for us to stay organized by knowing who’s assigned what, when the task is due, you can add notes, comments, and checklists, as well as track your progress. We also use the Planner to keep track of different ideas we have. You can group tasks by due date, bucket, progress, labels, priority, and who’s assigned to it. You can also view the planner by schedule which helps for scheduling social media posts and other content!
To work on files in or outside of Teams:

1. Select a file. Either from your files list located on the left side of the app, the files tab at the top of a chat, or one attached to a message.
2. Right click the file or select More options (…) on the right side of the app.
3. A pop-up box will appear. From there you can choose to work on the file in the desktop app, your browser, in Teams, or download it.
Calendar
Calendars are essential to quick and easy scheduling, especially shared calendars. Having shared calendars makes scheduling a breeze when you can see who’s available when. This takes away the back-and-forth of trying to pick a date and time that works for all parties.
In the calendar tab you can see what’s on your agenda for the week and if you have shared calendars then you can see what’s on everybody else’s calendar for the week. You can view by day, work week, and week. As well as skip ahead in the year to view what’s coming up. From the calendar tab, you can also schedule meetings or have a meeting now.
Screen Sharing
Screen sharing is another great feature that allows for better collaboration. Being able to share your desktop, PowerPoint, or whiteboard while on calls is just like having a meeting in person, except you can be halfway around the world from your coworkers.
To share a desktop or program in a chat:

1. Go to the chat you wish to share your screen with.
2. Select the Start sharing your screen icon on the top right of the app.
3. Choose which screen or window you would like to share.
4. To stop sharing your screen, select the red Stop presenting button in the middle of your screen.
To share a desktop or program in a call or meeting:

1. In a call or meeting, move your mouse across the window to display the Call Options.
2. Select the Share Desktop
3. You will be prompted to choose one of your screens/desktops or windows/programs to share.
4. Click on the desired content you’d like to share.
5. If you’re sharing a screen, your entire desktop will be shared, and the shared area will be outlined in red.
6. If you’re sharing a program, only that program will be shared, and just that program will be outlined in red. As you change the size of this window, the red outline will change with it. Anything that appears over the shared program—whether a notification popping up or an application you drag over—will show up as a grey box to everyone else in the call.
7. To stop sharing, choose the Stop Sharing icon in the Call Options Window.
To use the whiteboard:

1. You can access the whiteboard before a meeting has started by opening the meeting chat.
2. Click on the whiteboard tab.
3. From there you can select a pen and start drawing.
4. To copy the sharing link or export the whiteboard as an image, select the corresponding button on the top right side of your whiteboard.
